How to Effectively Apply Liquid Rubber for Maximum Waterproofing Benefits
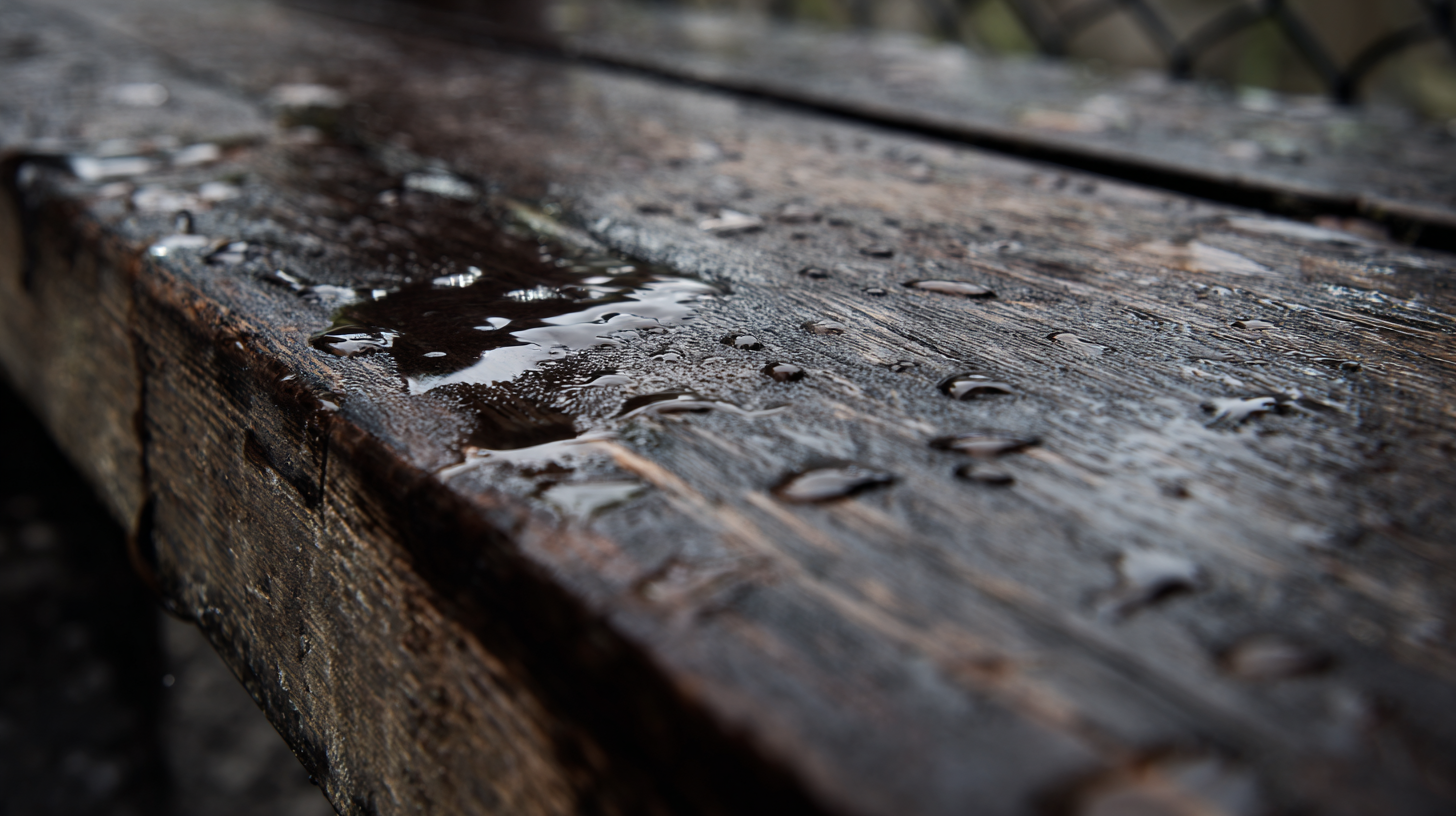 Liquid Rubber has emerged as a leading solution for waterproofing applications, offering unparalleled protection against water infiltration. According to a report by MarketsandMarkets, the global waterproofing membrane market is projected to reach $39.5 billion by 2026, with a significant portion driven by the growing recognition of innovative coatings like Liquid Rubber. This versatile product not only provides a seamless barrier that withstands harsh weather conditions but also boasts environmental sustainability, aligning with the industry's shift towards greener solutions.
In addition, a study from The Waterproofing Institute indicates that buildings utilizing Liquid Rubber coatings experience a 30% reduction in moisture-related damages over a ten-year period compared to those treated with traditional methods. As such, mastering the application of Liquid Rubber is essential for both homeowners and contractors aiming for longevity and reliability in their waterproofing projects.
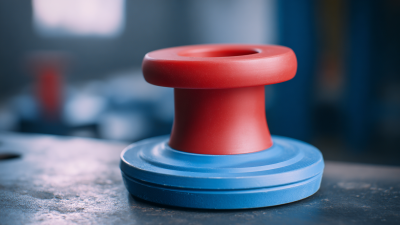
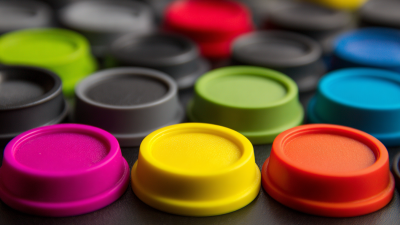
Choosing the Right Liquid Rubber Product for Your Project
When selecting the right
liquid rubber product for your
waterproofing project, it’s crucial to consider the specific needs of your substrate and the environment. According to a report by the National Association of Home Builders, nearly 90% of homeowners experience some form of
water damage, making effective waterproofing essential. Liquid rubber products are formulated for various applications, including roofs, basements, and outdoor surfaces, each designed to provide maximum adhesion and flexibility.
Look for products that offer superior UV resistance and elasticity, as these factors significantly impact long-term performance. A study by the Construction Specifications Institute shows that using high-quality liquid rubber can enhance waterproofing effectiveness by up to
30% compared to traditional materials. Additionally, consider environmentally friendly options, as the demand for
sustainable building materials continues to rise—over 60% of builders are now opting for eco-conscious solutions that do not compromise on quality. By carefully assessing your project requirements and selecting the appropriate liquid rubber formulation, you can ensure a reliable and enduring waterproofing solution.
Preparing Surfaces for Optimal Liquid Rubber Application
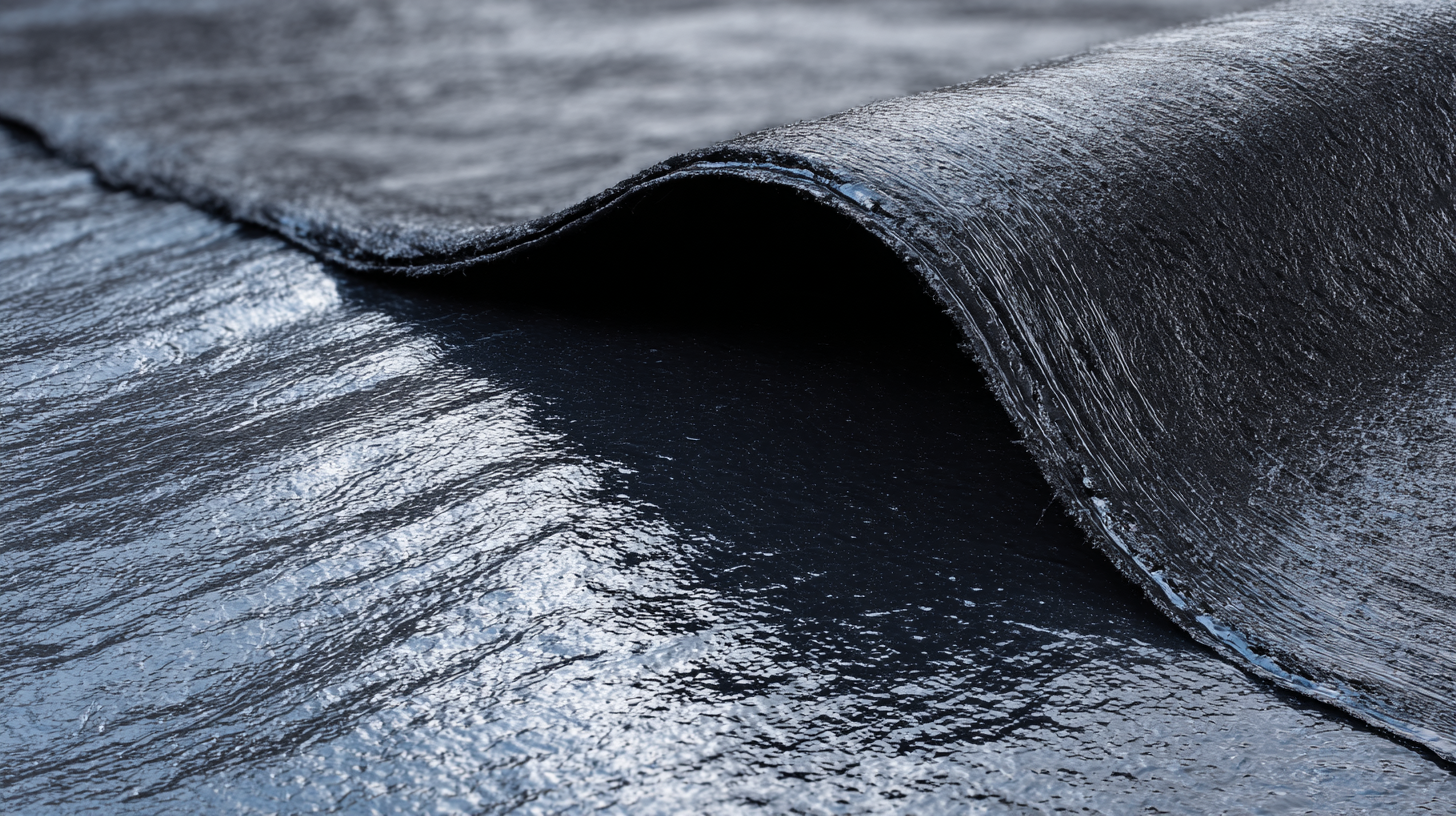
Preparing surfaces properly is crucial for achieving optimal results when applying liquid rubber for waterproofing. The first step in surface preparation is to ensure the area is clean and free of any debris. This includes removing dirt, dust, and old paint or sealants that could prevent the liquid rubber from adhering effectively. A pressure washer or a stiff brush can be used to scrub the surface, while a thorough rinse will help eliminate any remaining particles.
Next, it's essential to assess the surface for any cracks or imperfections. Filling in these gaps with an appropriate patching compound will create a smooth, even surface for the liquid rubber application. If the surface is porous, applying a primer may be beneficial to enhance adhesion and improve the coverage of the liquid rubber. By taking the time to prepare the surface meticulously, you can significantly increase the waterproofing benefits of liquid rubber, ensuring a durable and long-lasting seal.
Step-by-Step Guide to Applying Liquid Rubber Efficiently
Applying liquid rubber effectively requires careful preparation and execution to ensure maximum waterproofing benefits. Start by selecting the right type of liquid rubber for your specific project, taking into account factors such as surface material and environmental conditions. Before application, clean the surface thoroughly to remove any dirt, grease, or debris. Patching any cracks or holes is crucial, as this provides a smooth and uniform surface for the liquid rubber to adhere to.
Once the surface is prepared, apply a primer if necessary to enhance adhesion. Begin by using a brush or roller to apply the liquid rubber evenly, starting from the corners and working your way outwards. It’s essential to apply multiple thin coats rather than a single thick layer, allowing each coat to dry completely before adding the next. This step-by-step approach not only improves waterproofing efficacy but also ensures a durable finish. Finally, be mindful of the curing time and conditions, as a well-cured surface will offer the best protection against water ingress.
Tips for Achieving a Smooth and Even Finish with Liquid Rubber
Achieving a smooth and even finish when applying liquid rubber is essential for maximizing its waterproofing benefits. The first step is to ensure that the surface you are working on is clean, dry, and free from debris. This preparation allows the liquid rubber to bond effectively. Use a pressure washer or scrub brush to remove any loose materials, and let the surface dry completely before application.
When applying the liquid rubber, consistency is key. Start by pouring a manageable amount into a tray and use a high-quality roller or brush. Work in small sections, applying the rubber in long, even strokes to avoid uneven thickness. It’s beneficial to overlap each stroke slightly to ensure complete coverage. If you notice any bubbles or imperfections, they can often be smoothed out with a brush before the material sets. Lastly, consider applying a second coat after the first has dried for enhanced waterproofing, making sure to follow the manufacturer's recommended cure times for optimal results.
Common Mistakes to Avoid for Effective Waterproofing with Liquid Rubber
When applying liquid rubber for waterproofing, avoiding common mistakes is crucial to achieve optimal results. One of the most prevalent errors is neglecting surface preparation. Failing to clean and properly prime the surface can lead to poor adhesion, resulting in the eventual failure of the waterproof seal. All dirt, oil, and loose debris must be removed, and any existing coatings should be stripped away to ensure that the liquid rubber bonds effectively.
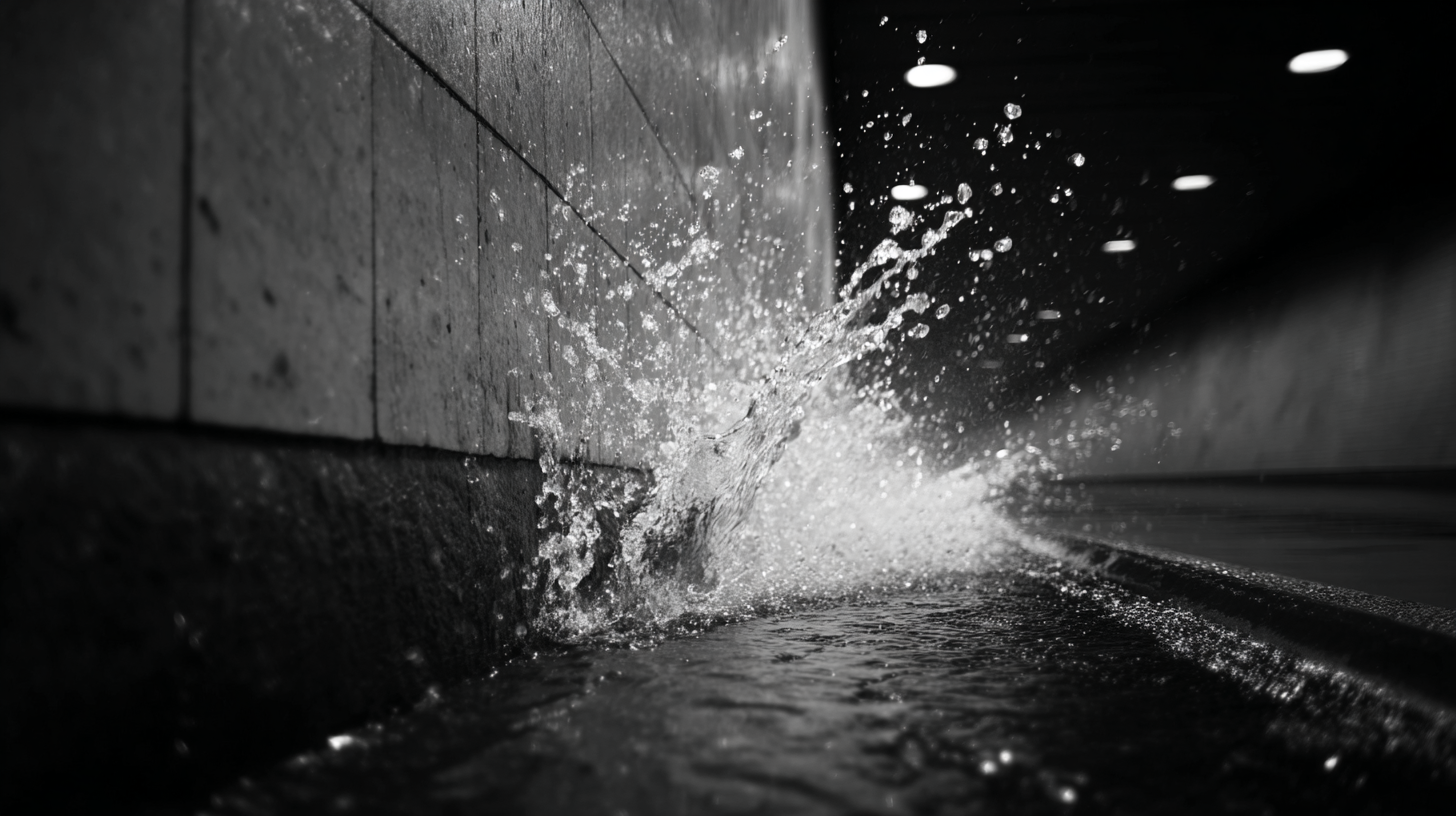
Another significant mistake is applying the product on a damp or wet surface. Liquid rubber requires a dry environment to cure correctly; moisture can hinder its ability to form a solid, durable barrier. Additionally, not following the recommended thickness guidelines can compromise the waterproofing performance. Applying too thin a layer may result in weak spots that water can penetrate, while overly thick applications can lead to cracking during the curing process. Adhering to the manufacturer’s instructions regarding both surface conditions and application thickness is essential for achieving maximum waterproofing benefits.